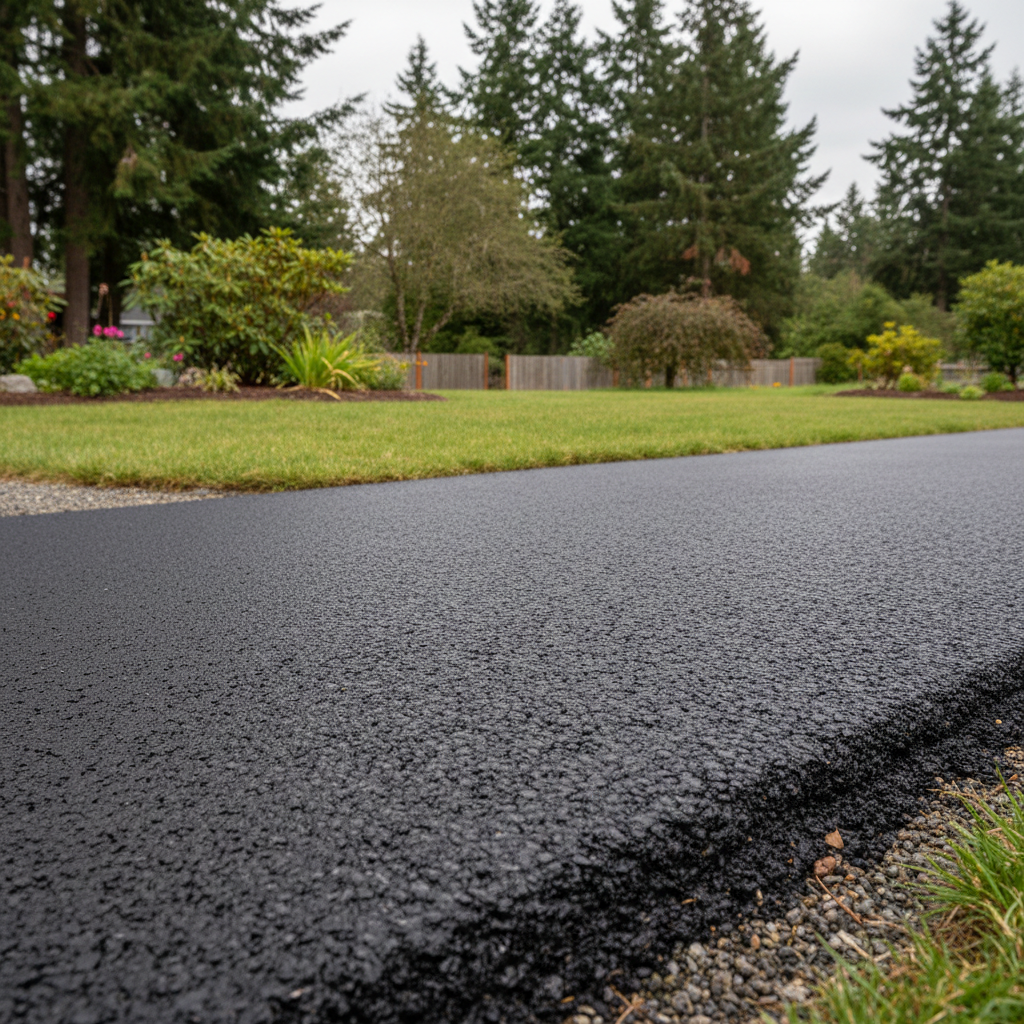
Got an asphalt driveway? Or maybe you're thinking about putting one in? It's a big part of your home's curb appeal and functionality, so you want to get it right. I've seen a lot of driveways around Arlington – from the older homes near downtown to the newer developments up by Smokey Point – and I can tell you what works and what usually ends up costing more in the long run.
Before the Shovel Hits: Planning Your Asphalt Project
Before you even think about buying a bag of cold patch, you need to understand the scope of your project. Are we talking about a brand-new driveway, a complete tear-out and replace, or just some repairs?
- New Installation/Full Replacement: This is almost always a job for the pros. You're dealing with excavation, proper sub-base preparation, drainage, and laying hot asphalt. It's heavy equipment, specialized knowledge, and a crew that knows what they're doing. Trying to DIY this is like trying to build a house with a hammer and nails you found in your garage – it's just not going to work out right.
- Major Repairs (Large Cracks, Potholes, Alligator Cracking): If your driveway looks like a jigsaw puzzle or has potholes big enough to swallow a small car, you're probably looking at a significant repair. While you can buy cold patch for small, temporary fixes, extensive damage often means the underlying base is failing. You can patch a pothole yourself, sure, but if the water keeps getting under it, that patch isn't going to last. A professional can assess the base, fix drainage issues, and then apply a more durable hot asphalt repair.
- Minor Repairs (Small Cracks, Edge Damage): This is where you can definitely get your hands dirty. Hairline cracks can be sealed with liquid crack filler you can buy at any hardware store. Edge damage, if it's just a small crumbling section, can sometimes be tidied up with a good asphalt repair caulk. Just make sure the area is clean and dry before you apply anything.
- Sealcoating: This is probably the most common DIY asphalt project. It's like painting your driveway. It protects the asphalt from UV rays, water, and chemicals, extending its life. You can buy sealcoat in five-gallon buckets and apply it with a squeegee or roller. It's hard work, but totally doable for most homeowners.
One thing you absolutely need to consider, especially around here with our wet winters, is drainage. If water sits on your driveway, it's going to cause problems, no matter how good the asphalt is. Make sure any new installation or major repair has a plan for directing water away from the house and foundation.
During the Project: What to Expect & What to Do
If you're doing a DIY repair or sealcoat, the biggest thing is preparation. Seriously, it's 90% of the job. Clean the surface thoroughly. Get rid of all dirt, debris, oil stains, and loose asphalt. A pressure washer works wonders, but make sure the surface is completely dry before you apply anything. If you're patching, cut out any loose material. Follow the product instructions to the letter – they're there for a reason.
For professional jobs, you won't be doing much during the actual work, but you'll want to be available to answer questions. Make sure you've cleared the area of cars, toys, and anything else that might be in the way. If you have pets, keep them inside or securely fenced off. Hot asphalt is, well, hot, and you don't want anyone or anything getting hurt.
A good contractor, like us at Coastal Asphalt Solutions, will keep you informed every step of the way. We'll tell you when we're starting, what we're doing, and when we expect to be done. You should never feel like you're in the dark.
After the Work is Done: Curing & Maintenance
Whether it's a DIY sealcoat or a brand-new professional driveway, there's a curing period. For sealcoat, you usually need to stay off it for 24-48 hours, sometimes longer if it's humid or cooler. For a new asphalt driveway, it's typically 3-7 days before you can drive on it, and even then, be gentle. Avoid parking heavy vehicles in the same spot for extended periods during the first few weeks, especially when it's hot out. Our summers here in Arlington can get pretty warm, and fresh asphalt is softer then.
Ongoing maintenance is key to making your asphalt last. Keep it clean. Sweep off leaves and dirt regularly. Address any new cracks or small potholes as soon as they appear. Don't let them grow into bigger, more expensive problems. And plan on sealcoating every 2-5 years, depending on traffic and sun exposure. It's an easy way to protect your investment.
Look, your driveway is an important part of your home. Taking care of it, whether you're doing the small stuff yourself or bringing in Coastal Asphalt Solutions for the big jobs, will save you money and headaches down the road. Don't neglect it until it's too late.